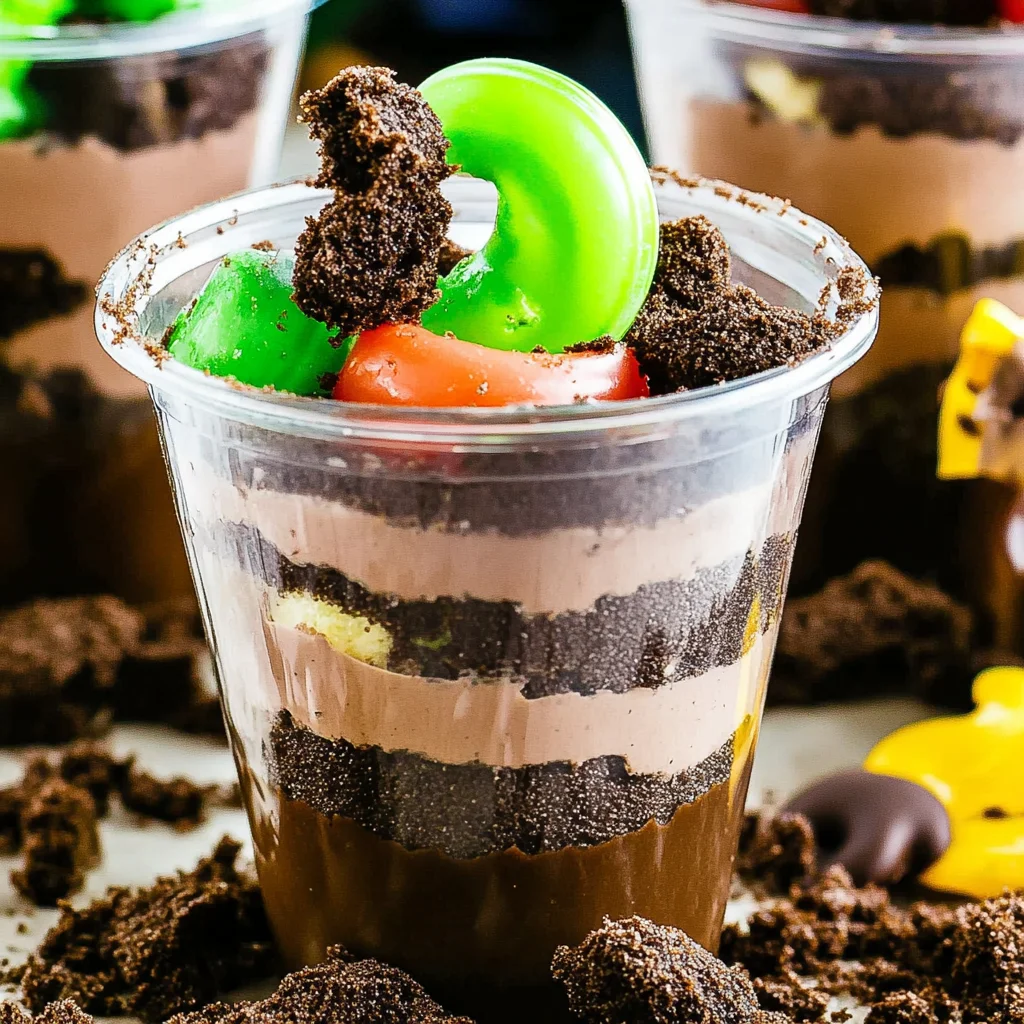
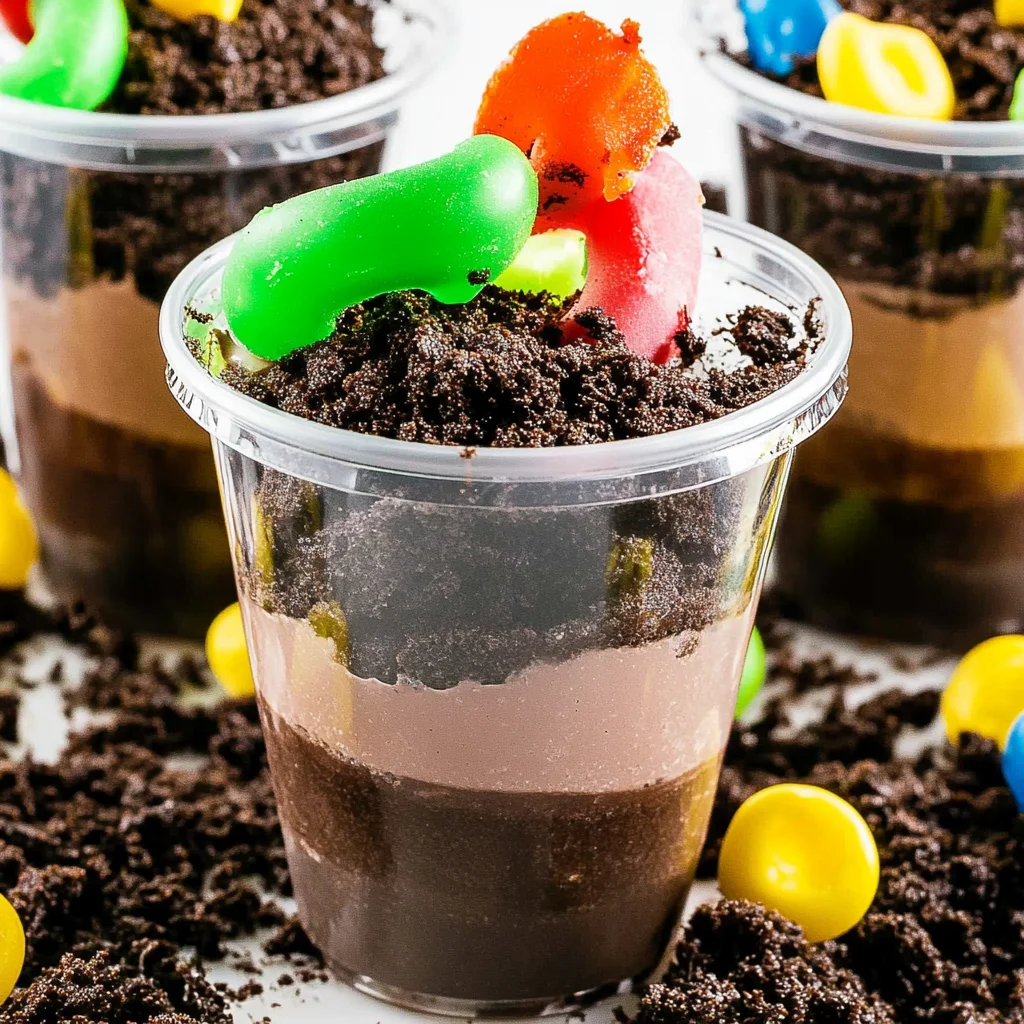
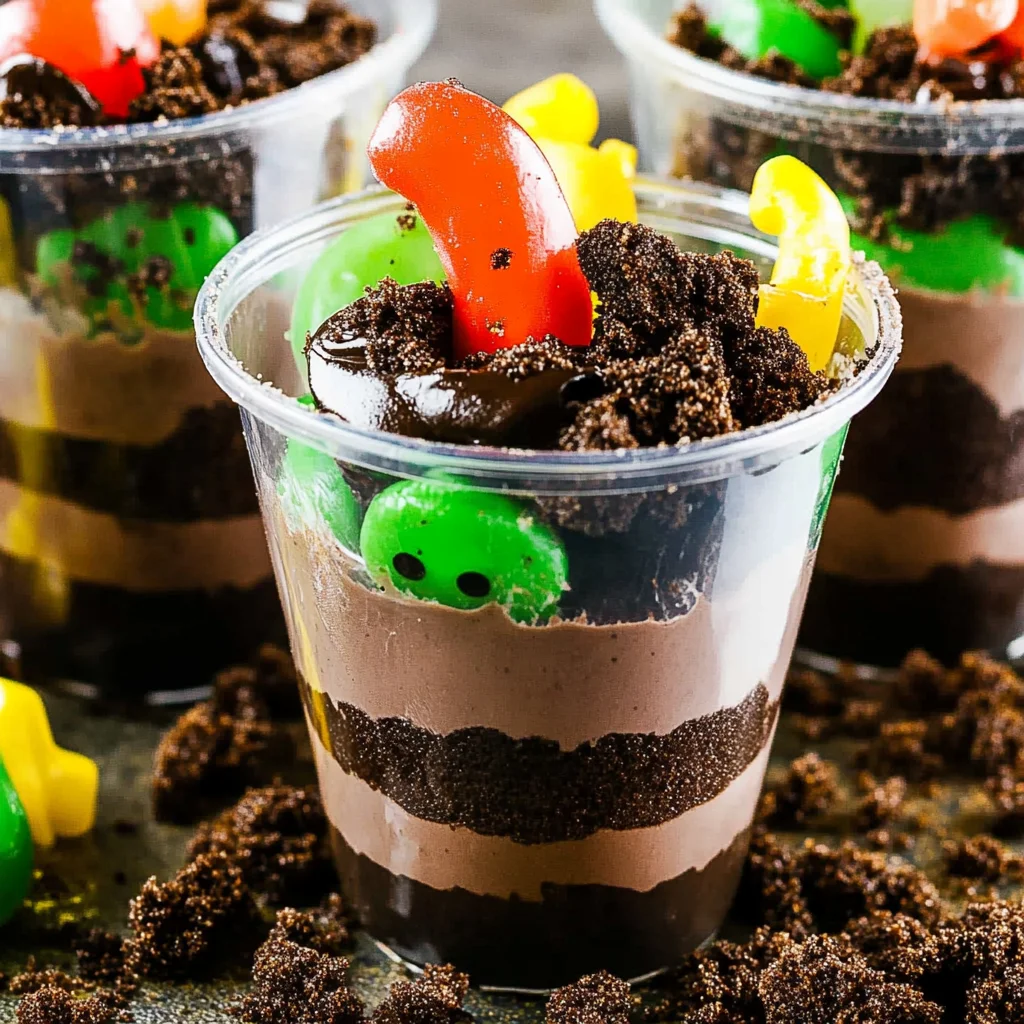
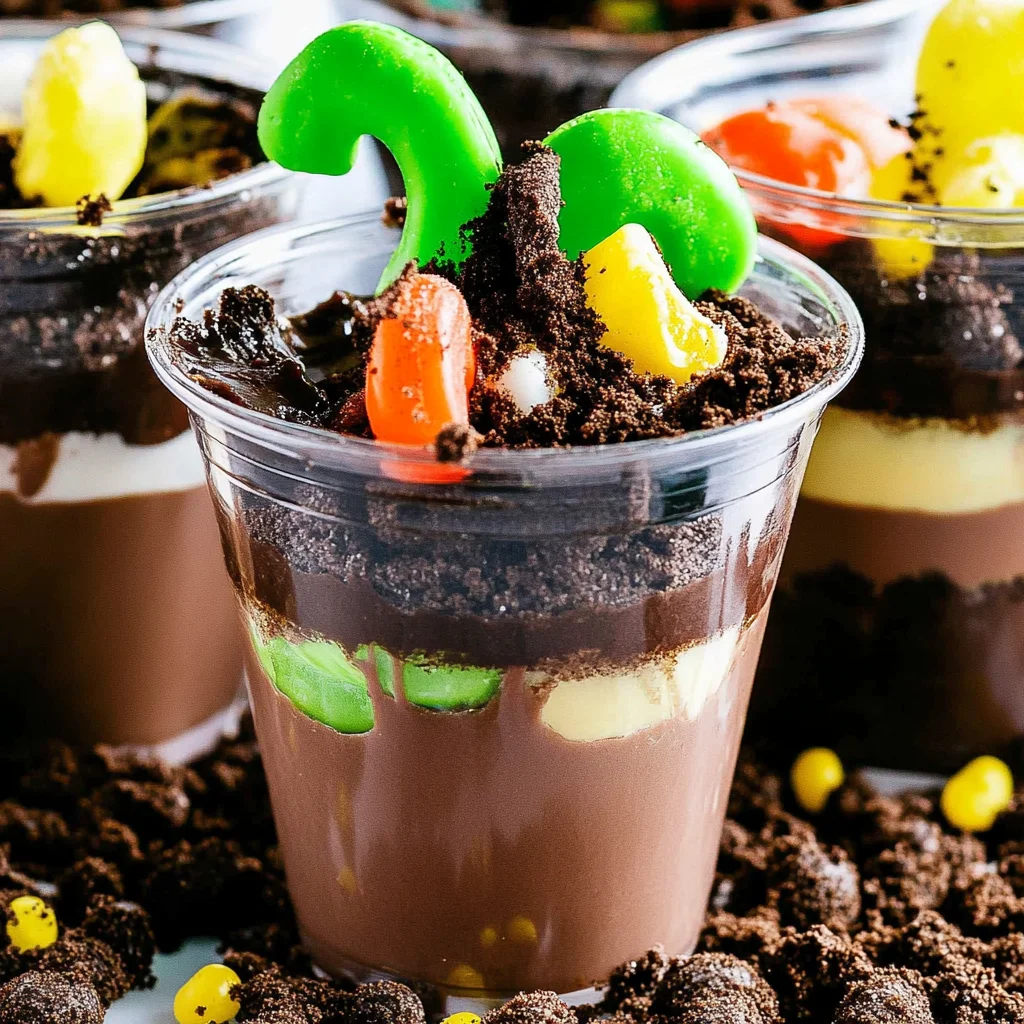
Dirt Cups are a fun and nostalgic dessert perfect for kids and adults alike. With layers of rich chocolate pudding, crushed Oreos, and gummy worms, these treats are visually appealing and delicious. Ideal for birthday parties, Halloween gatherings, or just a sweet indulgence at home, Dirt Cups offer a unique twist on traditional desserts that everyone will love.
Jump to:
- Why You’ll Love This Recipe
- Tools and Preparation
- Essential Tools and Equipment
- Importance of Each Tool
- Ingredients
- For the Pudding Layer
- For the Topping
- How to Make Dirt Cups
- Step 1: Prepare the Pudding
- Step 2: Fold in Whipped Topping
- Step 3: Assemble the Cups
- Step 4: Add Crushed Oreos
- Step 5: Top with Gummy Worms
- Step 6: Chill Before Serving
- How to Serve Dirt Cups
- Classic Presentation
- Themed Parties
- Individual Portions
- Family Style
- Kid-Friendly Options
- Mini Versions
- How to Perfect Dirt Cups
- Best Side Dishes for Dirt Cups
- Common Mistakes to Avoid
- Refrigerator Storage
- Freezing Dirt Cups
- Reheating Dirt Cups
- Frequently Asked Questions
- What are Dirt Cups?
- How do I make my Dirt Cups even more exciting?
- Can I make Dirt Cups ahead of time?
- What variations exist for Dirt Cup recipes?
- Final Thoughts
- 📖 Recipe Card
Why You’ll Love This Recipe
- Quick and Easy: This recipe takes only 10 minutes to prepare, making it perfect for last-minute dessert plans.
- Kid-Friendly Fun: Kids enjoy helping to make these cups, from crushing Oreos to placing gummy worms.
- Customizable: You can easily switch up the toppings or use different candies to suit your taste.
- No Baking Required: Just mix and chill—no oven needed!
- Great for Any Occasion: Whether it’s a birthday party or a Halloween treat, Dirt Cups fit right in.
Tools and Preparation
Preparing Dirt Cups requires just a few simple tools. Gather them before you start for a smoother cooking experience.
Essential Tools and Equipment
- Mixing bowl
- Whisk
- Measuring cups
- Serving glasses or cups
Importance of Each Tool
- Mixing bowl: Essential for combining your ingredients without spilling.
- Whisk: Helps achieve a smooth pudding consistency without lumps.
Ingredients
Layers of chocolate pudding, crushed Oreos topped with gummy worms!
For the Pudding Layer
- 3.4 ounces box instant chocolate pudding mix
- 2 cups milk
- 8 ounces whipped topping (thawed)
For the Topping
- 10-12 Oreo cookies (crushed)
- 32 gummy worms
How to Make Dirt Cups
Step 1: Prepare the Pudding
In a medium bowl, add cold milk and sprinkle pudding over top. Whisk until well combined. Let sit for 5 minutes to thicken.
Step 2: Fold in Whipped Topping
Gently fold in the whipped topping until well mixed. This creates a creamy texture that sits beautifully atop the Oreo base.
Step 3: Assemble the Cups
Spoon the pudding mixture into glasses or cups evenly.
Step 4: Add Crushed Oreos
Sprinkle crushed Oreo cookies on top of the pudding layer in each cup for that dirt effect.
Step 5: Top with Gummy Worms
Place 4 gummy worms on top of each cup to give it an authentic dirt look.
Step 6: Chill Before Serving
Chill the Dirt Cups in the refrigerator until ready to serve. This allows the flavors to meld together perfectly!
How to Serve Dirt Cups
Dirt Cups are a fun and whimsical dessert perfect for parties or gatherings. Here are some creative serving suggestions that will enhance the experience of enjoying these delicious treats.
Classic Presentation
- Use clear cups or glasses to showcase the layers of pudding and crushed Oreos. This allows everyone to see the fun dirt effect clearly.
Themed Parties
- For Halloween, add spooky decorations like edible eyes or plastic spiders on top of the gummy worms for a festive touch.
Individual Portions
- Serve in small mason jars for a rustic feel. This makes it easy for guests to grab their own without the need for serving utensils.
Family Style
- Set up a DIY Dirt Cup station where guests can layer their own cups, choosing how much pudding, Oreos, and gummy worms they want.
Kid-Friendly Options
- Replace gummy worms with other candies like candy corn or chocolate rocks for different occasions and tastes.
Mini Versions
- Create mini dirt cups in shot glasses for an adorable and bite-sized dessert option at adult gatherings.
How to Perfect Dirt Cups
To make your Dirt Cups even more delightful, consider these helpful tips for the best results.
Choose Quality Ingredients: Using high-quality chocolate pudding mix and fresh whipped topping enhances the flavor significantly.
Crush Oreos Finely: A finer crush mimics dirt more closely, providing a better texture when layered on top of the pudding.
Chill Properly: Allowing your Dirt Cups to chill in the refrigerator for at least 30 minutes helps them set properly and improves flavor melding.
Layer Creatively: Alternate layers of pudding and crushed Oreos to create visual appeal. It’s all about the presentation!
Garnish Thoughtfully: Add additional treats like sprinkles or edible glitter on top for extra flair and excitement.
Best Side Dishes for Dirt Cups
Pairing side dishes with your Dirt Cups can elevate your dessert experience. Here are some great options:
Fruit Salad: A refreshing mix of seasonal fruits provides a light contrast to the rich flavors of Dirt Cups.
Chocolate-Covered Pretzels: These crunchy treats offer a sweet-salty balance that complements the sweetness of Dirt Cups.
Mini Sandwiches: Finger sandwiches filled with a variety of ingredients can keep guests satisfied while they enjoy their dessert.
Veggie Platter with Dip: Crisp vegetables served with ranch or hummus offer a healthy option amidst all the sweets.
Cheese Platter: An assortment of cheeses pairs nicely with the indulgent flavors of chocolate pudding.
Popcorn Bar: Set out flavored popcorn options, such as caramel or cheese, allowing guests to munch while enjoying their treats.
S’mores Station: A fun activity where guests can make their own s’mores adds an interactive element to your gathering.
Ice Cream Sundae Bar: Offer toppings like nuts, syrups, and cherries so guests can customize their ice cream alongside Dirt Cups.
Common Mistakes to Avoid
Making Dirt Cups can be a fun and rewarding experience, but there are common pitfalls that can ruin your dessert. Here are some mistakes to avoid:
Skipping the pudding thickening: Not allowing the pudding to sit for the recommended time can result in a runny texture. Always let it thicken for at least 5 minutes before adding other ingredients.
Overmixing whipped topping: Mixing the whipped topping too vigorously can deflate it, making your Dirt Cups less fluffy. Gently fold in the whipped topping to maintain its lightness.
Using stale cookies: Old Oreos can affect the flavor and texture of your Dirt Cups. Use fresh cookies for the best taste and crunch.
Neglecting presentation: Dirt Cups are visually appealing desserts, so don’t skip on layering. Make sure to layer pudding, Oreos, and gummy worms attractively for a fun look.
Not chilling properly: If you don’t chill the cups long enough before serving, they may not set well. Allow them to chill until ready to serve for optimal texture and flavor.
Refrigerator Storage
- Store Dirt Cups in airtight containers.
- They last up to 3 days in the refrigerator.
Freezing Dirt Cups
- Freezing is not recommended as it alters texture.
- If you must freeze, keep in an airtight container; consume within 1 month.
Reheating Dirt Cups
- Oven: Not suitable for reheating; enjoy chilled.
- Microwave: Not recommended; better served cold.
- Stovetop: Not applicable; best enjoyed as is.
Frequently Asked Questions
What are Dirt Cups?
Dirt Cups are a fun dessert made with layers of chocolate pudding, crushed Oreos, and gummy worms that resemble dirt and worms. They are perfect for kids’ parties or any gathering!
How do I make my Dirt Cups even more exciting?
You can customize your Dirt Cups by adding different toppings like chocolate sprinkles or mini candy bars. You can also try using different flavors of pudding!
Can I make Dirt Cups ahead of time?
Yes! You can prepare Dirt Cups a day in advance. Just store them in the refrigerator until you’re ready to serve.
What variations exist for Dirt Cup recipes?
Variations include using vanilla pudding instead of chocolate or adding fruit layers like strawberries or bananas for a fresh twist on this classic treat.
Final Thoughts
Dirt Cups offer a delightful combination of textures and flavors that appeal to both kids and adults alike. Their versatility allows you to customize them with various toppings or flavors, making them suitable for any occasion. We encourage you to try this fun recipe and get creative with your own spin!
Did You Enjoy Making This Recipe? Please rate this recipe with ⭐⭐⭐⭐⭐ or leave a comment.
📖 Recipe Card
Print
Dirt Cups
- Total Time: 0 hours
- Yield: Serves 4
Description
Dirt Cups are a delightful and whimsical dessert that brings joy to both kids and adults. This easy-to-make treat features layers of rich chocolate pudding, crushed Oreos, and colorful gummy worms, resembling a fun dirt-filled garden. Perfect for any occasion—be it birthday parties, Halloween celebrations, or just a sweet indulgence at home—Dirt Cups are sure to impress with their charming presentation and delicious taste. In just 10 minutes, you can whip up this nostalgic dessert that invites creativity and customization. Kids will love getting involved in the preparation, making it an enjoyable family activity. With no baking required, these cups are a quick and satisfying way to satisfy your sweet tooth!
Ingredients
- 3.4 ounces instant chocolate pudding mix
- 2 cups milk
- 8 ounces whipped topping (thawed)
- 10–12 Oreo cookies (crushed)
- 32 gummy worms
Instructions
- In a medium bowl, combine cold milk with the pudding mix. Whisk until smooth and let it sit for 5 minutes to thicken.
- Gently fold in the thawed whipped topping until well incorporated.
- Spoon the pudding mixture into serving glasses or cups evenly.
- Top each cup with crushed Oreos to create the 'dirt' layer.
- Decorate with gummy worms on top for a fun finishing touch.
- Chill in the refrigerator until ready to serve.
- Prep Time: 10 minutes
- Cook Time: None
- Category: Dessert
- Method: No Baking
- Cuisine: American
Nutrition
- Serving Size: 1 cup (200g)
- Calories: 300
- Sugar: 22g
- Sodium: 250mg
- Fat: 14g
- Saturated Fat: 7g
- Unsaturated Fat: 6g
- Trans Fat: 0g
- Carbohydrates: 36g
- Fiber: 2g
- Protein: 4g
- Cholesterol: 10mg