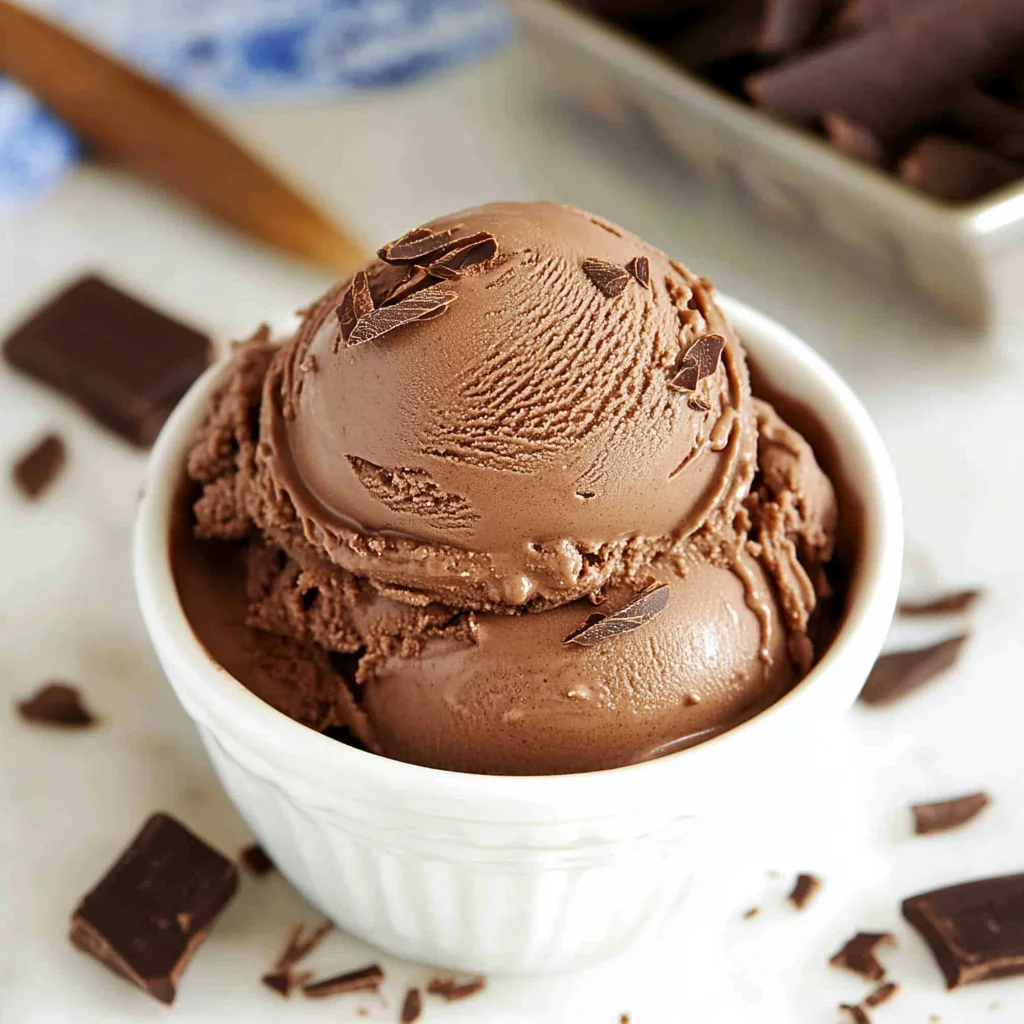
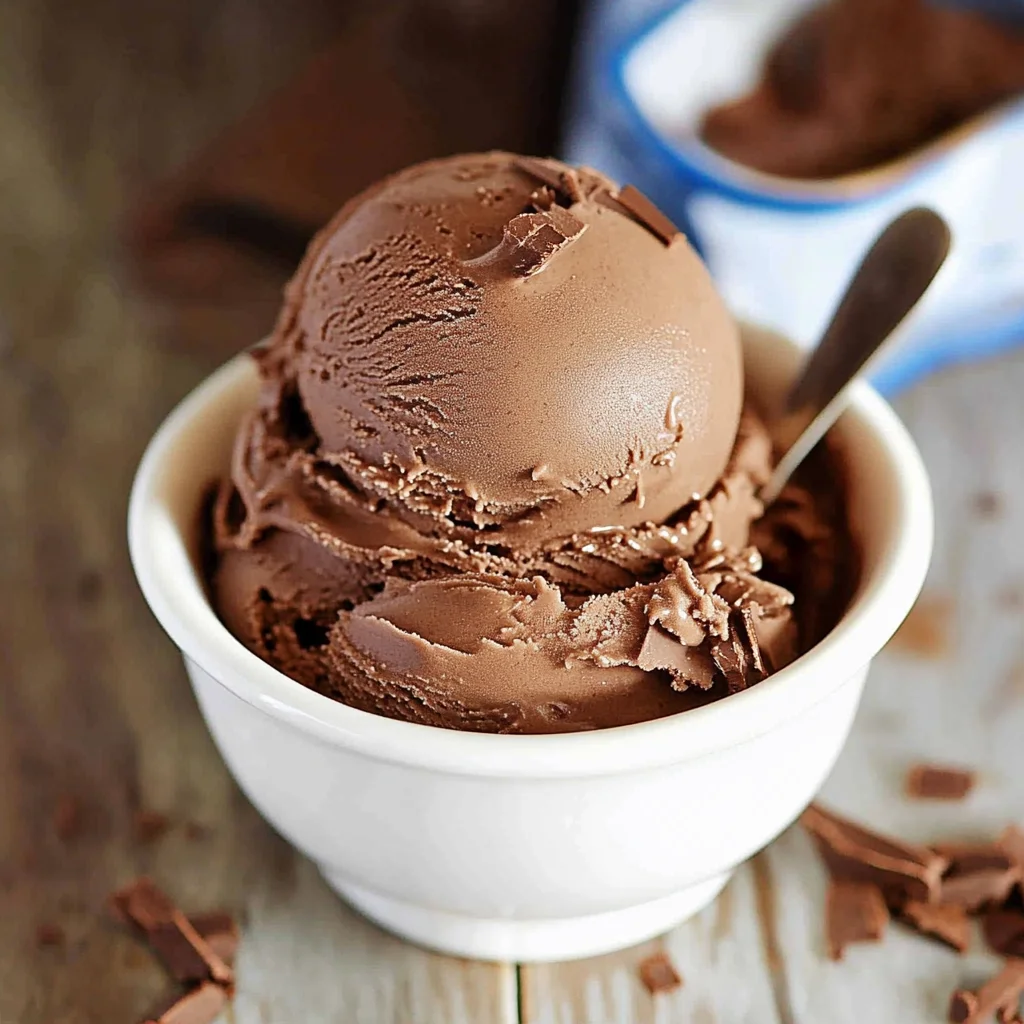
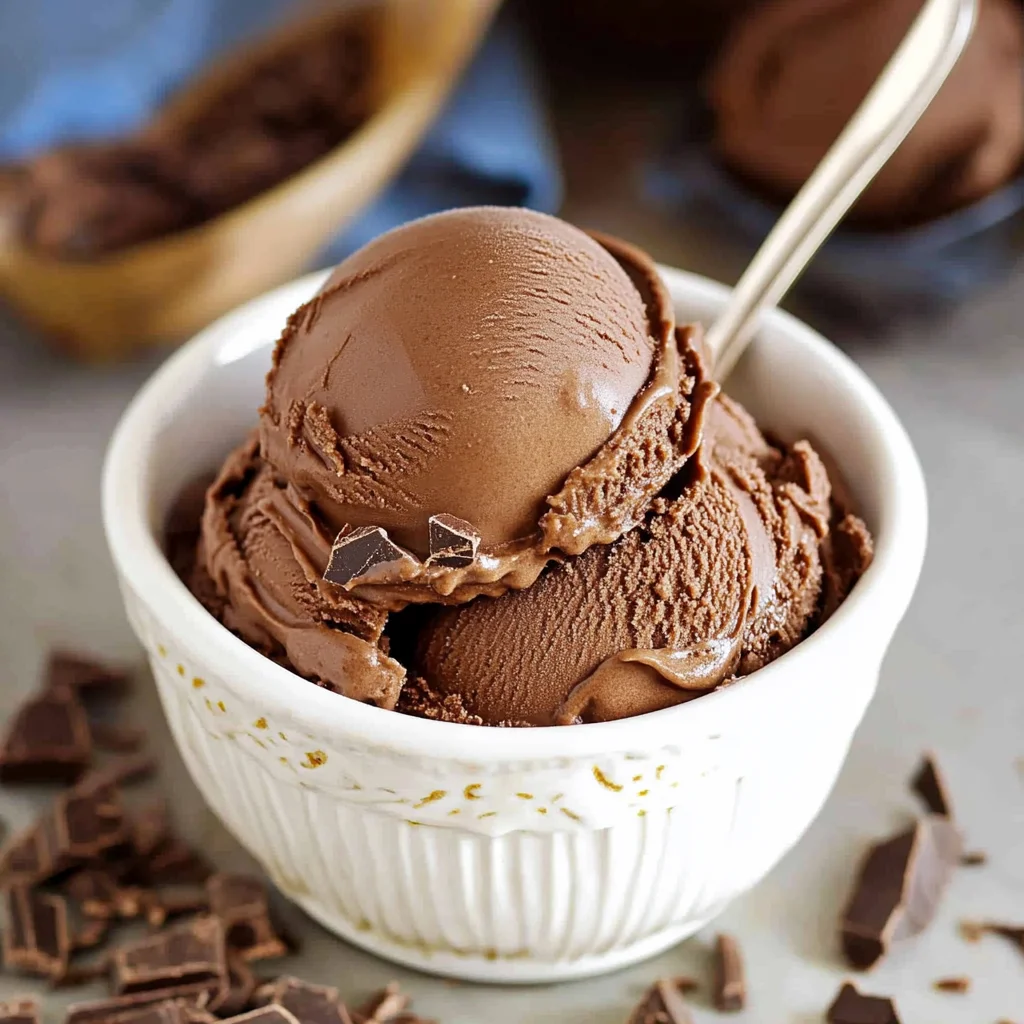
Rich, creamy, and ultra chocolatey, this Homemade Chocolate Ice Cream Recipe is the best treat you can make right in your kitchen. Perfect for hot summer days, dinner parties, or simply indulging yourself, this recipe brings the creamy goodness of your favorite ice cream shop straight to your home. With simple ingredients and an easy process, you’ll be amazed at how delicious homemade ice cream can be!

Jump to:
- Why You’ll Love This Recipe
- Tools and Preparation
- Essential Tools and Equipment
- Importance of Each Tool
- Ingredients
- For the Base
- How to Make Homemade Chocolate Ice Cream Recipe
- Step 1: Prepare the Base Mixture
- Step 2: Dissolve Sugar
- Step 3: Mix Egg Yolks
- Step 4: Create an Ice Bath
- Step 5: Cook Custard Mixture
- Step 6: Cool Down
- Step 7: Churn Ice Cream
- How to Serve Homemade Chocolate Ice Cream Recipe
- Classic Sundae
- Chocolate Sauce Drizzle
- Fresh Fruit Garnish
- Cookie Crumble Topping
- Ice Cream Sandwiches
- Affogato Style
- How to Perfect Homemade Chocolate Ice Cream Recipe
- Best Side Dishes for Homemade Chocolate Ice Cream Recipe
- Common Mistakes to Avoid
- Storage & Reheating Instructions
- Refrigerator Storage
- Freezing Homemade Chocolate Ice Cream Recipe
- Reheating Homemade Chocolate Ice Cream Recipe
- Frequently Asked Questions
- How can I make my Homemade Chocolate Ice Cream more chocolatey?
- Can I use a different type of milk?
- How long does it take to freeze Homemade Chocolate Ice Cream?
- What makes this Homemade Chocolate Ice Cream recipe special?
- Final Thoughts
- 📖 Recipe Card
Why You’ll Love This Recipe
- Irresistible Flavor: The combination of cocoa powder and semi-sweet chocolate creates a deep, rich chocolate taste that’s hard to resist.
- Creamy Texture: Using both milk and heavy cream ensures a luscious texture that melts in your mouth.
- Customizable: Feel free to add mix-ins like nuts or chocolate chips for a personal touch.
- Kid-Friendly: This recipe is fun for the whole family. Get the kids involved in making their own ice cream!
- No Special Skills Required: Even if you’re a beginner in the kitchen, this recipe is straightforward and easy to follow.
Tools and Preparation
Before diving into this homemade chocolate ice cream adventure, ensure you have the right tools on hand. This will streamline your process and help you achieve the best results.
Essential Tools and Equipment
- Ice cream maker
- Large saucepan
- Medium bowl
- Whisk
- Fine mesh strainer
- Heatproof spatula
Importance of Each Tool
- Ice cream maker: This tool is crucial for achieving a smooth consistency as it churns the mixture while freezing.
- Large saucepan: A spacious pot allows you to mix ingredients thoroughly without spilling.
- Fine mesh strainer: This helps remove any lumps from the custard, ensuring a silky smooth ice cream.
Ingredients
Rich, creamy and ultra chocolatey, this is the BEST Homemade Chocolate Ice Cream ever. Just like your local creamery without leaving the house.
For the Base
- 2 cups whole milk
- 2 cups heavy cream
- 1 cup unsweetened cocoa powder (I always use Hershey’s)
- 2 ounces finely chopped semi-sweet chocolate
- 1 teaspoon vanilla extract
- 1 cup granulated sugar
- 5 large egg yolks
How to Make Homemade Chocolate Ice Cream Recipe
Step 1: Prepare the Base Mixture
In a large saucepan, whisk together the milk, cream, and cocoa powder. Bring this mixture to a simmer over medium-low heat before turning off the heat. Stir in the finely chopped chocolate and vanilla extract until melted.
Step 2: Dissolve Sugar
Add 3/4 cup of sugar to the milk mixture. Bring it back to a simmer while whisking occasionally to ensure all sugar is dissolved.
Step 3: Mix Egg Yolks
In a medium bowl, whisk together the remaining sugar and egg yolks until thickened and light in color. Gradually add 1/4 cup of the warm milk mixture into the egg yolks while whisking constantly. Continue adding more milk mixture until fully combined.
Step 4: Create an Ice Bath
Prepare an ice bath by filling a large bowl with ice and water. Place a medium bowl within this ice bath and set a fine mesh strainer over it.
Step 5: Cook Custard Mixture
Transfer your combined custard back into a large saucepan. Cook over medium heat while stirring constantly with a heatproof spatula until thick enough to coat the back of a spoon. Strain this custard into your prepared bowl sitting in the ice bath.
Step 6: Cool Down
Allow your custard mixture to cool down before refrigerating it until cold or overnight for best results.
Step 7: Churn Ice Cream
Pour your cooled custard into an electric ice cream maker’s freezer canister. Freeze according to manufacturer instructions until it reaches soft-serve consistency. Transfer to an airtight container and freeze until firm.
Enjoy making this delightful Homemade Chocolate Ice Cream Recipe, perfect for any occasion!
How to Serve Homemade Chocolate Ice Cream Recipe
Serving your Homemade Chocolate Ice Cream Recipe can elevate the experience and impress your guests. Here are some delightful ways to serve this rich treat.
Classic Sundae
- Top with whipped cream, cherries, and nuts for a nostalgic dessert.
Chocolate Sauce Drizzle
- Add a warm chocolate sauce for an extra layer of indulgence.
Fresh Fruit Garnish
- Serve with fresh strawberries or bananas to balance the richness of the ice cream.
Cookie Crumble Topping
- Sprinkle crushed cookies on top for added crunch and flavor contrast.
Ice Cream Sandwiches
- Use cookies or brownies to create delicious homemade ice cream sandwiches.
Affogato Style
- Pour a shot of hot espresso over a scoop of ice cream for a unique coffee-flavored treat.
How to Perfect Homemade Chocolate Ice Cream Recipe
To ensure your Homemade Chocolate Ice Cream Recipe turns out perfectly every time, keep these tips in mind:
- Use Quality Ingredients: Ingredients like high-quality cocoa powder and chocolate make a noticeable difference in flavor.
- Chill Your Mixture Well: Make sure to refrigerate the custard until it is completely cold before churning for optimal texture.
- Do Not Overmix: When using an ice cream maker, avoid overmixing, which can lead to icy texture instead of creamy softness.
- Store Properly: Use an airtight container for storing ice cream to prevent freezer burn and maintain its creamy texture.
- Experiment with Flavors: Don’t hesitate to add mix-ins like chocolate chips or nuts during the last few minutes of churning for added texture.
- Let It Sit Before Serving: Allowing the ice cream to sit at room temperature for about 5-10 minutes makes it easier to scoop.
Best Side Dishes for Homemade Chocolate Ice Cream Recipe
Pairing side dishes with your Homemade Chocolate Ice Cream Recipe can create a complete dessert experience. Consider these options:
- Chocolate Chip Cookies: The classic combo that never fails; warm cookies complement cold ice cream beautifully.
- Brownie Bites: Rich, fudgy brownies add decadence and pair well with the creamy texture of the ice cream.
- Fruit Salad: A refreshing mix of seasonal fruits balances the sweetness of the ice cream.
- Pecan Pie Bars: These sweet bars provide a crunchy contrast that enhances each bite of ice cream.
- Mini Cheesecakes: The creamy filling pairs well with chocolate flavors, making them an excellent choice.
- Waffles or Pancakes: Serve warm waffles or pancakes topped with ice cream for a delightful breakfast-for-dessert option.
Common Mistakes to Avoid
Making homemade chocolate ice cream can be a fun and rewarding experience, but it’s easy to make mistakes. Here are some common pitfalls to avoid.
- Skipping the ice bath: Not preparing an ice bath can lead to a custard that takes too long to cool. Always place your bowl in ice water to help speed up the cooling process.
- Not whisking properly: Failing to whisk the egg yolks and sugar until thickened can result in a grainy texture. Make sure you whisk until the mixture is light in color and slightly thick.
- Overheating the custard: Cooking your custard too long can make it curdle. Keep stirring constantly over medium heat until it just thickens enough to coat the back of a spoon.
- Not chilling the custard: Skipping refrigeration time may lead to less creamy ice cream. Allow your mixture to chill completely before freezing for the best texture.
- Ignoring manufacturer instructions: Each ice cream maker works differently. Always follow your specific machine’s instructions for optimal results.
Storage & Reheating Instructions
Refrigerator Storage
- Homemade chocolate ice cream can be stored in the refrigerator for about 3 days.
- Use an airtight container to keep it fresh and prevent freezer burn.
Freezing Homemade Chocolate Ice Cream Recipe
- Freeze your homemade chocolate ice cream for up to 2 months.
- Store in an airtight container, ensuring there’s minimal air space to maintain quality.
Reheating Homemade Chocolate Ice Cream Recipe
- Oven: Preheat your oven at a low temperature (about 200°F) for a few minutes; this will help soften the ice cream.
- Microwave: Use short intervals (10-15 seconds) on low power, checking frequently to avoid melting too much.
- Stovetop: Place on low heat in a saucepan, stirring gently until softened but not melted completely.
Frequently Asked Questions
Here are some common questions about the Homemade Chocolate Ice Cream Recipe that you might find helpful.
How can I make my Homemade Chocolate Ice Cream more chocolatey?
You can increase the amount of cocoa powder or add more chopped semi-sweet chocolate for an even richer flavor.
Can I use a different type of milk?
Yes! You can substitute whole milk with almond milk or coconut milk, though this may alter the texture slightly.
How long does it take to freeze Homemade Chocolate Ice Cream?
Typically, it takes about 4 hours for homemade chocolate ice cream to freeze completely after churning.
What makes this Homemade Chocolate Ice Cream recipe special?
This recipe combines rich cocoa powder and semi-sweet chocolate, creating a decadent flavor that’s hard to resist!
Final Thoughts
The appeal of this homemade chocolate ice cream recipe lies in its rich flavor and creamy texture. It’s perfect for any occasion and can easily be customized with toppings or mix-ins like nuts or fruit. Don’t hesitate—give this delicious recipe a try today!
Did You Enjoy Making This Recipe? Please rate this recipe with ⭐⭐⭐⭐⭐ or leave a comment.
📖 Recipe Card
Print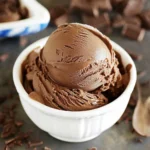
Homemade Chocolate Ice Cream Recipe
- Total Time: 50 minutes
- Yield: Approximately 8 servings 1x
Description
Indulge in the ultimate homemade chocolate ice cream experience with our rich, creamy, and ultra-chocolatey recipe. This delightful treat is perfect for hot summer days, dinner parties, or simply when you want to satisfy your sweet tooth.
Ingredients
- 2 cups whole milk
- 2 cups heavy cream
- 1 cup unsweetened cocoa powder
- 2 ounces semi-sweet chocolate
- 1 teaspoon vanilla extract
- 1 cup granulated sugar
- 5 large egg yolks
Instructions
- In a large saucepan, combine milk, cream, and cocoa powder. Simmer and then stir in chopped chocolate and vanilla until melted.
- Add 3/4 cup sugar to the mixture and simmer to dissolve.
- In a bowl, whisk remaining sugar with egg yolks until thick; gradually incorporate warm milk mixture.
- Return custard to the pan and cook until thickened; strain into an ice bath to cool.
- Refrigerate until fully chilled.
- Pour custard into an ice cream maker and churn according to instructions until soft-serve consistency. Freeze in an airtight container until firm.
- Prep Time: 30 minutes
- Cook Time: 20 minutes
- Category: Dessert
- Method: Churning
- Cuisine: American
Nutrition
- Serving Size: 1/2 cup (125g)
- Calories: 290
- Sugar: 24g
- Sodium: 45mg
- Fat: 18g
- Saturated Fat: 11g
- Unsaturated Fat: 7g
- Trans Fat: 0g
- Carbohydrates: 28g
- Fiber: 3g
- Protein: 5g
- Cholesterol: 120mg