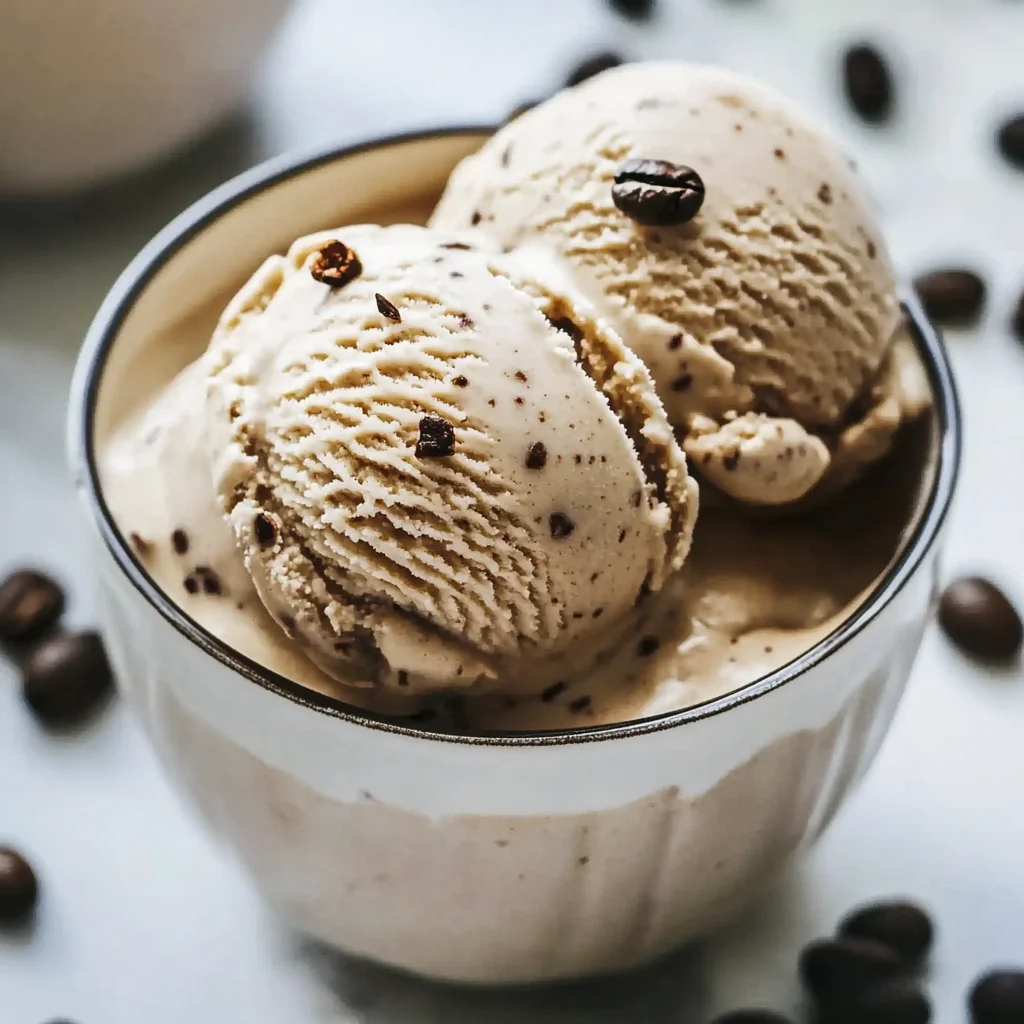
This Homemade Coffee Ice Cream recipe is a delightful treat that coffee lovers will adore. It’s creamy, rich, and bursting with the bold flavor of real coffee. Perfect for any occasion, whether it’s a summer BBQ or a cozy movie night at home, this ice cream serves as a delicious way to indulge in your favorite beverage. Plus, it includes an easy no-churn method for those without an ice cream maker!
Jump to:
- Why You’ll Love This Recipe
- Tools and Preparation
- Essential Tools and Equipment
- Importance of Each Tool
- Ingredients
- For the Base
- Optional Add-Ins
- How to Make Homemade Coffee Ice Cream
- Step 1: Heat the Dairy Mixture
- Step 2: Strain the Mixture
- Step 3: Sweeten and Flavor
- Step 4: Chill the Mixture
- Step 5: Churn Your Ice Cream
- Step 6: Freeze Until Firm
- How to Serve Homemade Coffee Ice Cream
- Classic Sundae
- Affogato Style
- Coffee Float
- Ice Cream Sandwiches
- With Biscotti
- Chocolate-Dipped Cones
- How to Perfect Homemade Coffee Ice Cream
- Best Side Dishes for Homemade Coffee Ice Cream
- Common Mistakes to Avoid
- Storage & Reheating Instructions
- Refrigerator Storage
- Freezing Homemade Coffee Ice Cream
- Reheating Homemade Coffee Ice Cream
- Frequently Asked Questions
- How can I make Homemade Coffee Ice Cream without an ice cream maker?
- What is the best coffee for Homemade Coffee Ice Cream?
- Can I customize my Homemade Coffee Ice Cream?
- How long does Homemade Coffee Ice Cream last?
- Final Thoughts
- 📖 Recipe Card
Why You’ll Love This Recipe
- Rich Flavor: The combination of heavy cream and real coffee creates a deep, satisfying taste.
- Versatile Serving Options: Enjoy it on its own or pair it with desserts like brownies or pie.
- No Ice Cream Maker Needed: Follow the no-churn method if you don’t have an ice cream machine.
- Easy to Make: With just a few simple steps, you can whip up this treat in no time.
- Great for Gatherings: Impress your guests with this homemade delight at parties or family gatherings.
Tools and Preparation
To make this homemade coffee ice cream, you’ll need a few essential tools to streamline the process and ensure great results.
Essential Tools and Equipment
- Fine-mesh sieve
- Saucepan
- Mixing bowl
- Ice cream maker (optional)
- Airtight container
Importance of Each Tool
- Fine-mesh sieve: This tool allows you to strain out the coffee grounds effectively, ensuring a smooth base.
- Saucepan: A good saucepan is essential for heating the mixture evenly without scorching.
- Ice cream maker: While optional, it helps achieve the perfect texture for your homemade coffee ice cream.
Ingredients
This homemade coffee ice cream is rich, creamy, and packed with bold coffee flavor. Made with real coffee, it’s the perfect frozen treat for coffee lovers! No ice cream maker? No problem—there’s a no-churn method included.
For the Base
- 2 cups Heavy cream (Provides creaminess)
- 1 cup Whole milk (Adds smooth texture)
- ¾ cup Granulated sugar (Sweetens the base)
- ¼ cup Brown sugar (Deepens flavor)
- 4 tbsp Coffee grounds (Medium-coarse grind for best infusion)
- 1 tbsp Instant espresso powder (Enhances coffee flavor)
- ½ tsp Salt (Balances flavors)
- 1 tbsp Vanilla extract (Adds depth)
Optional Add-Ins
- ½ cup Chocolate chips (Optional, for extra texture)
How to Make Homemade Coffee Ice Cream
Step 1: Heat the Dairy Mixture
In a saucepan over medium heat, combine heavy cream, whole milk, and coffee grounds. Heat until the mixture starts to simmer. Once simmering, remove from heat and let steep for 45 minutes.
Step 2: Strain the Mixture
After steeping, strain the mixture through a fine-mesh sieve into a mixing bowl. Be sure to press down on the coffee grounds to extract maximum flavor.
Step 3: Sweeten and Flavor
Return the liquid to the saucepan. Add both granulated sugar and brown sugar along with salt. Stir over low heat until all sugars are dissolved. Next, stir in instant espresso powder.
Step 4: Chill the Mixture
Add vanilla extract to the mixture. Transfer everything into another bowl and cover it tightly with plastic wrap. Refrigerate for at least 4 hours until chilled thoroughly.
Step 5: Churn Your Ice Cream
Pour your chilled mixture into an ice cream maker if you have one. Churn according to your machine’s instructions until it reaches soft-serve consistency.
Step 6: Freeze Until Firm
Transfer your freshly churned ice cream into an airtight container. Cover with parchment paper before sealing it tightly. Freeze for about 4 hours or until fully firm before serving.
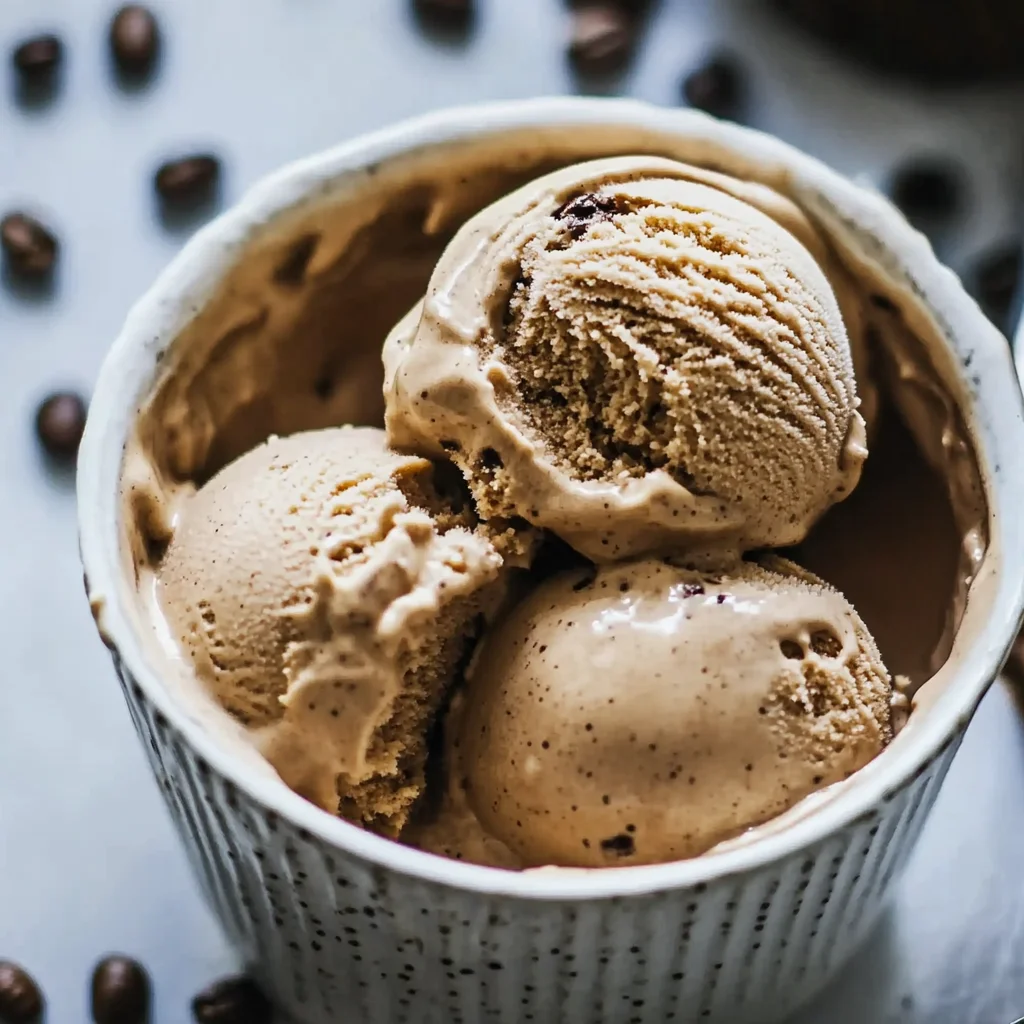
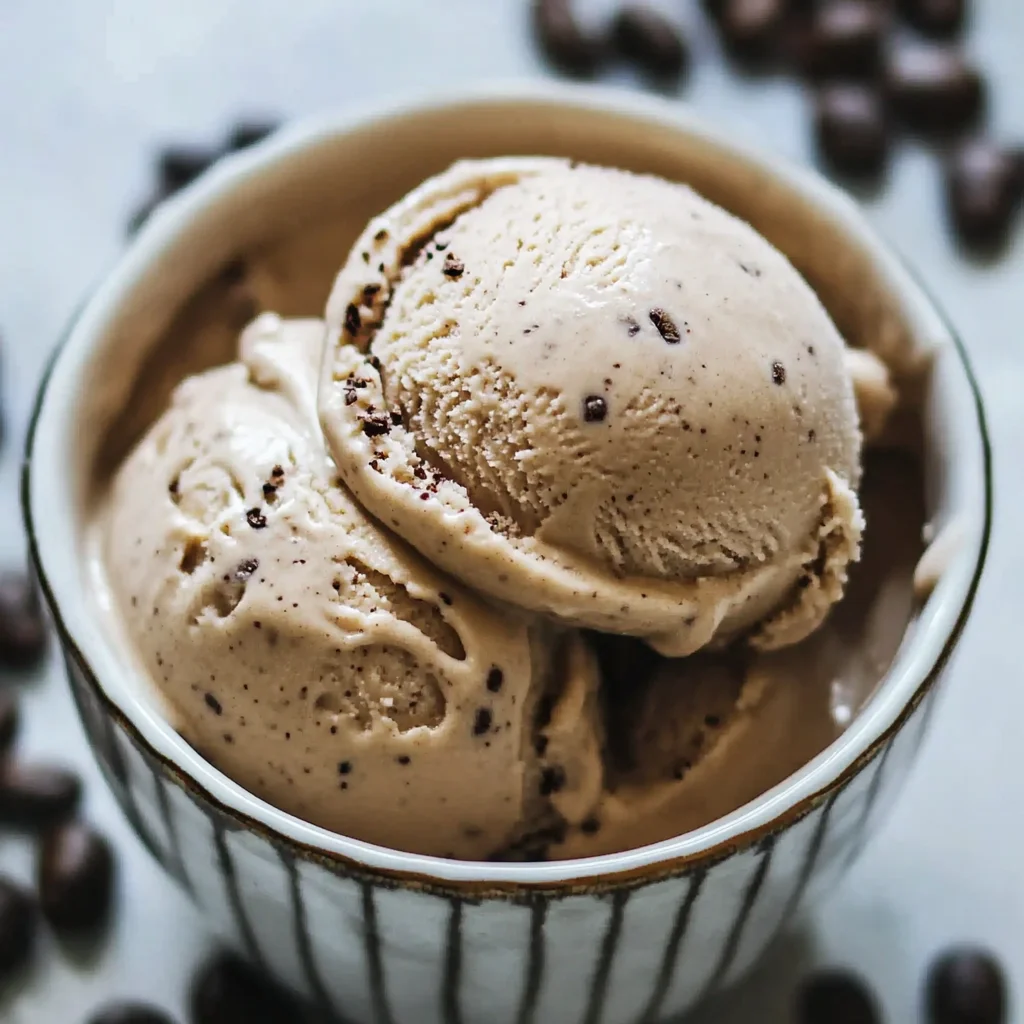
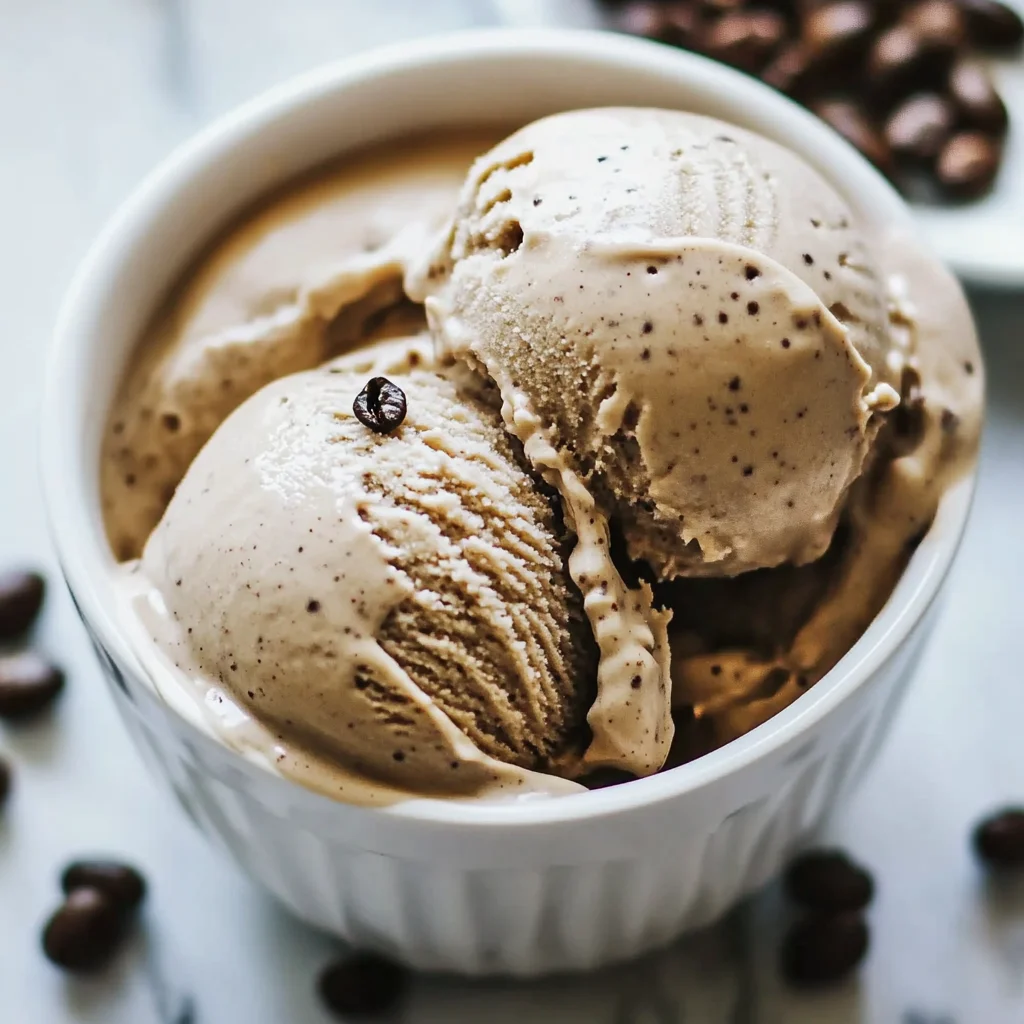
Enjoy your delicious homemade coffee ice cream!
How to Serve Homemade Coffee Ice Cream
Serving homemade coffee ice cream can elevate your dessert experience. Whether you’re hosting a gathering or enjoying a quiet night in, these serving suggestions will delight any coffee lover.
Classic Sundae
- Add a scoop of homemade coffee ice cream to a bowl and top with chocolate syrup, whipped cream, and a cherry for a classic sundae.
Affogato Style
- Pour a shot of hot espresso over a scoop of coffee ice cream for an indulgent affogato. The warm espresso melts the ice cream slightly, creating a delightful blend.
Coffee Float
- Combine homemade coffee ice cream with cold brew coffee in a tall glass for a refreshing coffee float. Garnish with chocolate shavings for an added treat.
Ice Cream Sandwiches
- Use cookies or brownies to create delicious ice cream sandwiches. Place scoops of coffee ice cream between two cookies for an on-the-go dessert.
With Biscotti
- Serve coffee ice cream alongside crunchy biscotti. The combination offers a delightful contrast in textures and flavors—perfect for dipping!
Chocolate-Dipped Cones
- Fill waffle cones with homemade coffee ice cream and dip the tops into melted chocolate. Let it harden for a fun and tasty presentation.
How to Perfect Homemade Coffee Ice Cream
To achieve the perfect homemade coffee ice cream, consider these helpful tips:
- Use fresh ingredients: Always opt for fresh heavy cream and whole milk to enhance the flavor and texture.
- Choose quality coffee: Selecting high-quality coffee grounds will significantly improve the taste of your ice cream.
- Chill thoroughly: Make sure your mixture is completely chilled before churning; this helps achieve a smoother consistency.
- Don’t skip the salt: A pinch of salt balances the sweetness and enhances the overall flavor profile.
- Experiment with mix-ins: Add chocolate chips, nuts, or caramel swirls during the churning process for extra texture and flavor.
- Store correctly: To maintain freshness, ensure your container is airtight when freezing your homemade coffee ice cream.
Best Side Dishes for Homemade Coffee Ice Cream
Pairing side dishes with your homemade coffee ice cream can create a delightful dessert spread. Here are some options to consider:
- Chocolate Chip Cookies: Soft, chewy cookies pair wonderfully with the rich flavor of coffee ice cream.
- Brownies: Fudgy brownies provide a decadent counterpart that complements the creamy texture.
- Fruit Salad: A light fruit salad adds freshness and balances the richness of the ice cream.
- Pecan Pie: The nutty flavor of pecan pie makes it an excellent pairing with coffee desserts.
- Caramel Sauce: Drizzle warm caramel sauce over both desserts for an indulgent treat.
- Mini Cheesecakes: These bite-sized delights provide a creamy contrast that works well with coffee flavors.
- Cinnamon Rolls: Warm cinnamon rolls can be served alongside scoops of coffee ice cream for breakfast-inspired indulgence.
- Chocolate Mousse: Light chocolate mousse offers an airy texture that contrasts beautifully with the dense ice cream.
Common Mistakes to Avoid
Making homemade coffee ice cream can be simple, but a few common mistakes can ruin your dessert experience. Here are some pitfalls to watch out for:
- Using the wrong coffee grind: If you use a fine grind, it can make your ice cream gritty. Opt for medium-coarse coffee grounds for the best infusion.
- Not steeping long enough: Skipping the steeping step may lead to weak coffee flavor. Allow the mixture to steep for at least 45 minutes to extract rich flavors.
- Skipping refrigeration: Failing to chill your base thoroughly before churning can result in a less creamy texture. Always refrigerate the mixture for at least 4 hours.
- Over-churning: Churning for too long can turn your ice cream into butter. Monitor the consistency closely and stop once it reaches soft-serve texture.
- Not covering properly before freezing: If you don’t cover your ice cream properly, it may develop ice crystals. Use parchment paper along with an airtight container to maintain smoothness.
Storage & Reheating Instructions
Refrigerator Storage
- Store any leftover mixture in an airtight container.
- It will keep well in the refrigerator for up to 2 days.
Freezing Homemade Coffee Ice Cream
- Transfer the churned ice cream into an airtight container.
- Cover with parchment paper and seal tight; it will last up to 2 weeks in the freezer.
Reheating Homemade Coffee Ice Cream
- Oven: This method isn’t recommended as ice cream doesn’t reheat well in an oven.
- Microwave: Heat in short intervals of 10-15 seconds on low power to soften slightly before serving.
- Stovetop: Place a scoop in a small pot over low heat, stirring gently until softened for easy scooping.
Frequently Asked Questions
How can I make Homemade Coffee Ice Cream without an ice cream maker?
You can use the no-churn method by whipping heavy cream until stiff peaks form and folding it into your coffee mixture before freezing.
What is the best coffee for Homemade Coffee Ice Cream?
A medium roast provides a balanced flavor, while dark roast will give a richer taste. Choose according to your preference!
Can I customize my Homemade Coffee Ice Cream?
Absolutely! You can add chocolate chips, caramel swirls, or nuts for extra texture and flavor variations.
How long does Homemade Coffee Ice Cream last?
When stored properly, it lasts up to 2 weeks in the freezer without losing quality.
Final Thoughts
This homemade coffee ice cream is not only rich and creamy but also incredibly versatile. With options for customization, you can make it uniquely yours! Whether enjoyed on its own or paired with desserts, it’s sure to please any coffee lover. Give this recipe a try and savor every delicious bite!
Did You Enjoy Making This Recipe? Please rate this recipe with ⭐⭐⭐⭐⭐ or leave a comment.
📖 Recipe Card
Print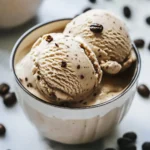
Homemade Coffee Ice Cream
- Total Time: 1 hour
- Yield: Approximately 6 servings 1x
Description
Indulge in the rich and creamy goodness of this Homemade Coffee Ice Cream, a perfect treat for coffee enthusiasts. This delightful dessert captures the bold essence of real coffee, making it an irresistible addition to any occasion—from summer barbecues to cozy nights in. With a straightforward no-churn method available, you don’t need an ice cream maker to enjoy this indulgent frozen delight. Just a few simple ingredients and minimal effort are all it takes to create a luscious treat that will impress friends and family alike. Get ready to savor each bite of this velvety coffee-flavored ice cream!
Ingredients
- 2 cups heavy cream
- 1 cup whole milk
- ¾ cup granulated sugar
- ¼ cup brown sugar
- 4 tbsp medium-coarse coffee grounds
- 1 tbsp instant espresso powder
- ½ tsp salt
- 1 tbsp vanilla extract
Instructions
- In a saucepan over medium heat, combine heavy cream, whole milk, and coffee grounds. Heat until simmering, then remove from heat and steep for 45 minutes.
- Strain the mixture through a fine-mesh sieve into a bowl, pressing down on the grounds for maximum flavor extraction.
- Return the strained liquid to the saucepan. Stir in granulated sugar, brown sugar, and salt over low heat until dissolved, then mix in instant espresso powder.
- Add vanilla extract and chill the mixture in the refrigerator for at least 4 hours.
- If using an ice cream maker, churn according to the manufacturer’s instructions until reaching soft-serve consistency; otherwise, whip heavy cream until stiff peaks form and fold into the coffee mixture.
- Transfer to an airtight container lined with parchment paper and freeze for about 4 hours or until firm.
- Prep Time: 15 minutes
- Cook Time: 45 minutes (plus chilling time)
- Category: Dessert
- Method: No-Churn
- Cuisine: American
Nutrition
- Serving Size: ½ cup (120g)
- Calories: 370
- Sugar: 35g
- Sodium: 60mg
- Fat: 28g
- Saturated Fat: 17g
- Unsaturated Fat: 10g
- Trans Fat: 0g
- Carbohydrates: 31g
- Fiber: 0g
- Protein: 3g
- Cholesterol: 75mg