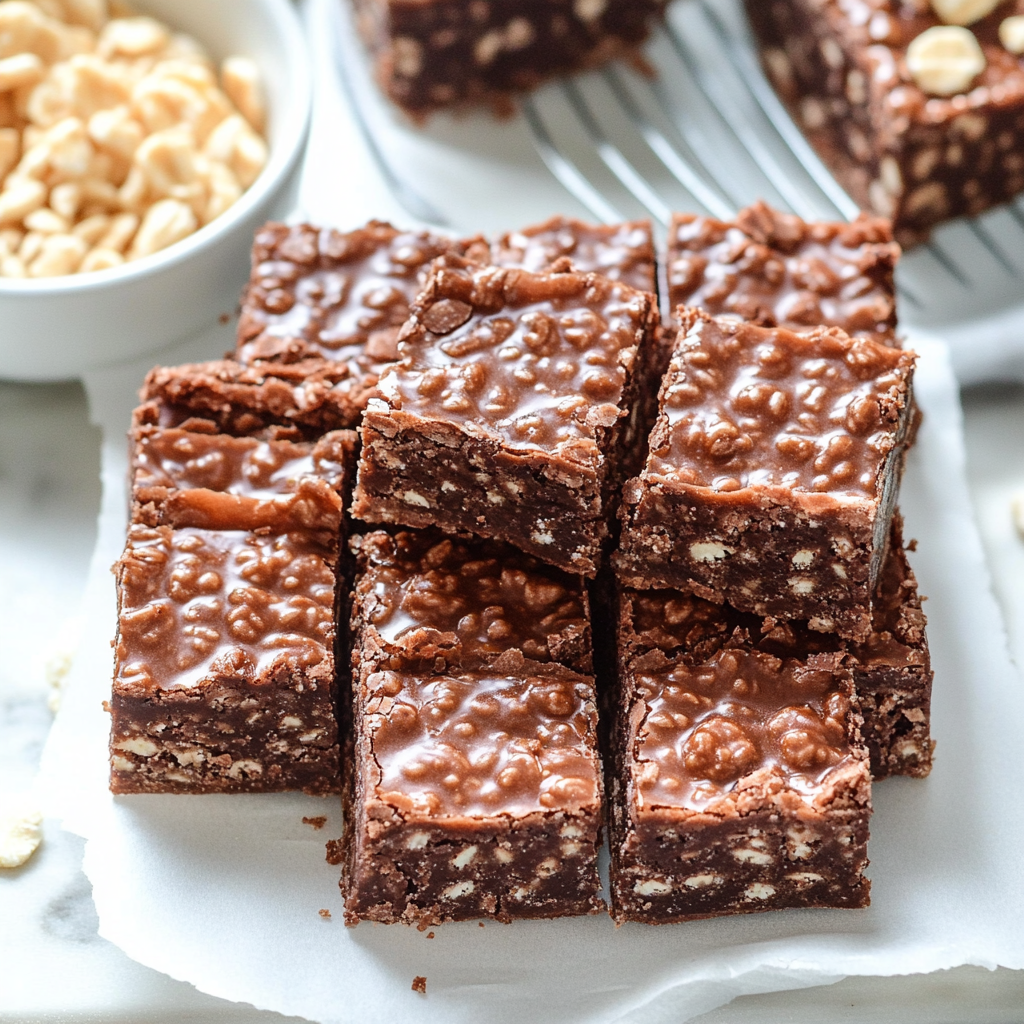
Homemade Crunch Bars are the heavenly concoction that makes your taste buds dance like nobody’s watching. Imagine biting into a crispy, chewy delight that marries the rich flavors of chocolate and peanut butter with the satisfying crunch of rice cereal. This treat is perfect for any occasion, whether you’re hosting a party or just need a little pick-me-up during an afternoon slump.
Jump to:
- Ingredients for Homemade Crunch Bars
- How to Make Homemade Crunch Bars
- <strong>Perfecting the Cooking Process</strong>
- <strong>Add Your Touch</strong>
- <strong>Storing & Reheating</strong>
- FAQs:
- What are Homemade Crunch Bars?
- How do I store Homemade Crunch Bars?
- Can I substitute ingredients in Homemade Crunch Bars?
- Are Homemade Crunch Bars healthy?
- Conclusion for Homemade Crunch Bars:
- 📖 Recipe Card
When I think of Homemade Crunch Bars, I can’t help but recall the first time I made them in my tiny kitchen. My friends and I were having a movie marathon, and we needed something sweet to fuel our laughter and late-night giggles. Little did I know that these bars would become our go-to snack for every gathering! The anticipation of indulging in something so deliciously simple was almost too much to bear.
Why You'll Love This Recipe
- These Homemade Crunch Bars are incredibly easy to whip up, making them perfect for even novice bakers.
- Their delightful flavor profile combines sweet chocolate and nutty peanut butter in each bite.
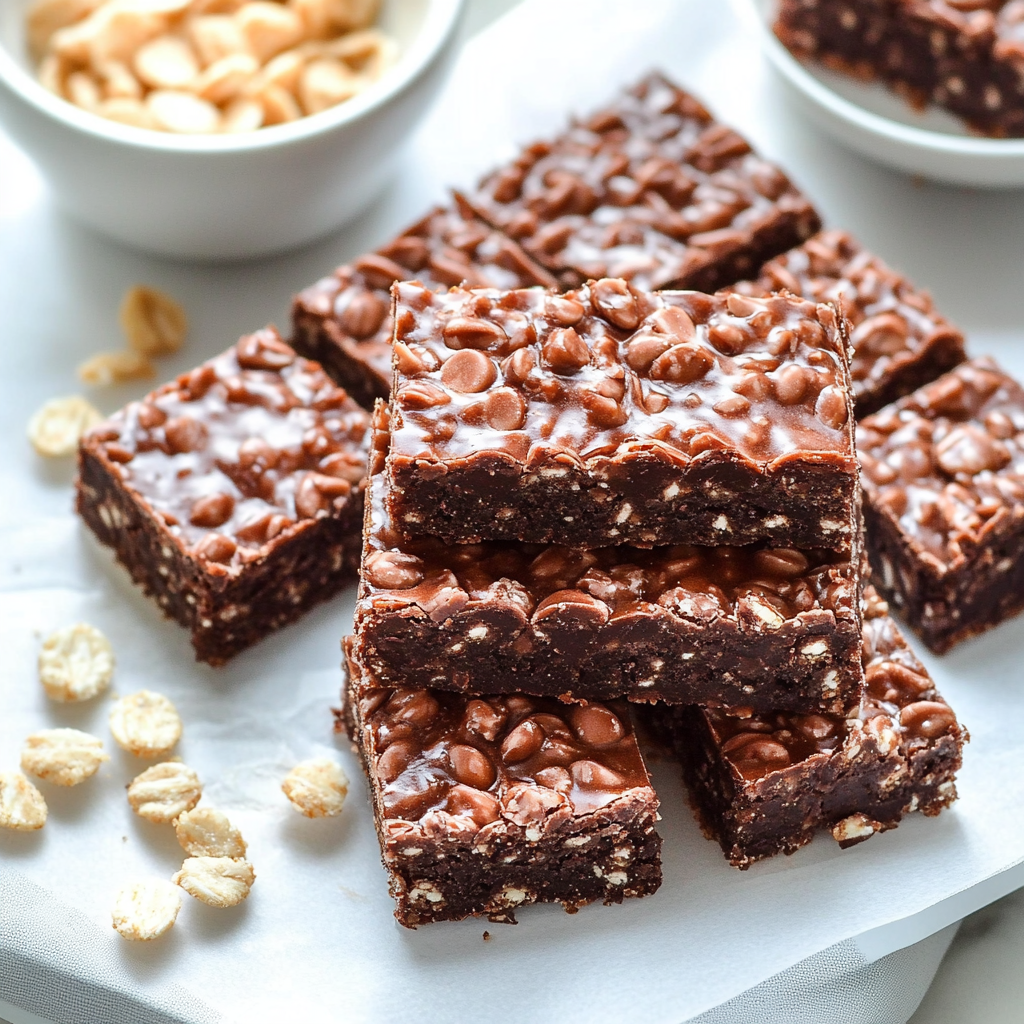
- Visually appealing with their glossy finish, they make a perfect centerpiece for any dessert table.
- Plus, you can easily customize them by adding your favorite mix-ins or toppings!
Ingredients for Homemade Crunch Bars
Here’s what you’ll need to make this delicious dish:
Chocolate Chips: Use semi-sweet or dark chocolate chips for a rich flavor; they melt beautifully for that glossy finish.
Peanut Butter: Choose creamy peanut butter to achieve that smooth texture; it complements the crunch perfectly.
Rice Cereal: Classic crispy rice cereal adds the essential crunch; feel free to use brown rice cereal for a healthier twist.
Honey or Maple Syrup: This will act as a sweetener and binding agent; choose raw honey for added flavor or maple syrup for a vegan option.
The full ingredients list, including measurements, is provided in the recipe card directly below.
How to Make Homemade Crunch Bars
Follow these simple steps to prepare this delicious dish:
Step 1: Prepare Your Baking Dish
Start by greasing an 8×8-inch baking dish with nonstick spray or line it with parchment paper. This will help you remove those glorious bars later without any sticky drama.
Step 2: Melt Chocolate and Peanut Butter
In a microwave-safe bowl, combine chocolate chips and peanut butter. Microwave in short bursts of about 30 seconds until melted, stirring between each interval until smooth and dreamy.
Step 3: Mix in Rice Cereal
Once melted, gently fold in the rice cereal until evenly coated. Make sure every little piece is covered in that chocolaty goodness—think of it as giving each grain its own spa treatment!
Step 4: Sweeten Up
Drizzle honey or maple syrup over the mixture and stir again until everything is well incorporated. The sweetness should balance perfectly with the chocolatey goodness.
Step 5: Press into Dish
Transfer the mixture into your prepared baking dish and press it down firmly using your hands or a spatula. You want these bars to hold together like best friends at a concert!
Step 6: Chill and Cut
Refrigerate for at least an hour or until firm. Once set, lift out from the dish using parchment paper (if used) and cut into squares or rectangles.
Transfer to plates and enjoy your Homemade Crunch Bars as you relive those fun movie nights with friends!
You Must Know
- This amazing homemade crunch bars recipe is not just a treat; it’s a fun way to get the family involved in the kitchen.
- With vibrant colors and delightful textures, these bars are a hit at any gathering.
- Perfect for snacking or dessert, they bring joy to every bite.
Perfecting the Cooking Process
Start by preparing your ingredients, then melt chocolate while crushing the cereal. Combine everything in a bowl before spreading it into a pan to cool. This sequence keeps things organized and ensures perfect homemade crunch bars every time.
Add Your Touch
Feel free to swap out the cereal for your favorite variety or add nuts and dried fruits for extra flavor. You can also experiment with different types of chocolate or include a pinch of sea salt on top for that sweet-salty combo we all love.
Storing & Reheating
Store your homemade crunch bars in an airtight container at room temperature for up to one week. If you want them to last longer, refrigerate them. There’s no need to reheat; they taste best when enjoyed cool and crunchy.
Chef's Helpful Tips
- For the ultimate homemade crunch bars, always use fresh ingredients like high-quality chocolate for rich flavor.
- Make sure to pack the mixture tightly in the pan for uniform bars.
- Don’t rush the cooling process; letting them set properly ensures perfect texture and flavor.
It was my friend’s birthday when I first made these homemade crunch bars, and they disappeared faster than cake! Everyone loved them, and I realized how easy it is to create something so delicious with just a few simple steps.
FAQs:
What are Homemade Crunch Bars?
Homemade crunch bars are delicious, no-bake treats made from a mixture of crispy ingredients like rice cereal, nuts, and sweeteners. They often combine chocolate or other coatings to create a satisfying crunch. By making them at home, you can customize the flavors and ingredients to your liking. These bars are great for snacking, lunchboxes, or even as a quick dessert.
How do I store Homemade Crunch Bars?
To keep your homemade crunch bars fresh, store them in an airtight container at room temperature for up to a week. If you want to extend their shelf life, consider refrigerating them. Just make sure to let them come to room temperature before serving for the best texture and flavor. Wrapping individual bars in parchment paper can also help maintain their freshness.
Can I substitute ingredients in Homemade Crunch Bars?
Absolutely! One of the best aspects of homemade crunch bars is their versatility. You can swap out ingredients based on your dietary preferences or what you have on hand. For example, use almond butter instead of peanut butter or add dried fruits for extra flavor. Experimenting with different nuts and seeds can also enhance the taste and nutrition of your bars.
Are Homemade Crunch Bars healthy?
Homemade crunch bars can be a healthier option compared to store-bought varieties. When made with whole ingredients like oats, nuts, and natural sweeteners, they provide essential nutrients. However, it’s important to watch portion sizes since they can still be calorie-dense. By controlling the ingredients and portions, you can enjoy a guilt-free treat that satisfies your cravings.
Conclusion for Homemade Crunch Bars:
In summary, homemade crunch bars offer a delightful combination of textures and flavors while allowing for endless customization. With simple ingredients like rice cereal, nut butter, and chocolate alternatives, you can create a satisfyingly crunchy snack tailored to your preferences. Storing these bars properly ensures they remain fresh and enjoyable for days. Whether you’re looking for a quick energy boost or a sweet treat, homemade crunch bars are an excellent choice!
Did You Enjoy Making This Recipe? Please rate this recipe with ⭐⭐⭐⭐⭐ or leave a comment.
📖 Recipe Card
Print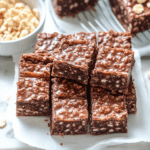
Homemade Crunch Bars
- Total Time: 15 minutes
- Yield: Approximately 12 servings 1x
Description
Homemade Crunch Bars are the perfect no-bake snack that harmoniously blends rich chocolate, creamy peanut butter, and crispy rice cereal. These delightful bars are not only easy to make but also customizable, allowing you to mix in your favorite ingredients. Perfect for parties or a mid-afternoon pick-me-up, these crunchy treats will have your taste buds dancing with joy. Enjoy them anytime as a satisfying snack that everyone will love!
Ingredients
- 1 cup semi-sweet chocolate chips
- 1 cup creamy peanut butter
- 3 cups rice cereal
- 1/4 cup honey or maple syrup
Instructions
- Grease an 8×8-inch baking dish or line it with parchment paper.
- In a microwave-safe bowl, melt chocolate chips and peanut butter in 30-second increments until smooth, stirring between each interval.
- Fold in rice cereal until evenly coated.
- Drizzle honey or maple syrup over the mixture and stir until well combined.
- Transfer the mixture into the prepared baking dish and press down firmly with your hands or a spatula.
- Refrigerate for at least one hour until firm. Cut into squares to serve.
- Prep Time: 15 minutes
- Cook Time: 0 minutes
- Category: Dessert
- Method: No-bake
- Cuisine: American
Nutrition
- Serving Size: 1 serving
- Calories: 190
- Sugar: 10g
- Sodium: 55mg
- Fat: 10g
- Saturated Fat: 3g
- Unsaturated Fat: 7g
- Trans Fat: 0g
- Carbohydrates: 22g
- Fiber: 1g
- Protein: 4g
- Cholesterol: 0mg